Web Form
Web Forms let you collect leads directly from your website without writing code. Create and publish them from your workspace.
Web Forms let you collect leads directly from your website without writing code. Each form is workspace-specific and publishes to a shareable link you can add to your site.
-
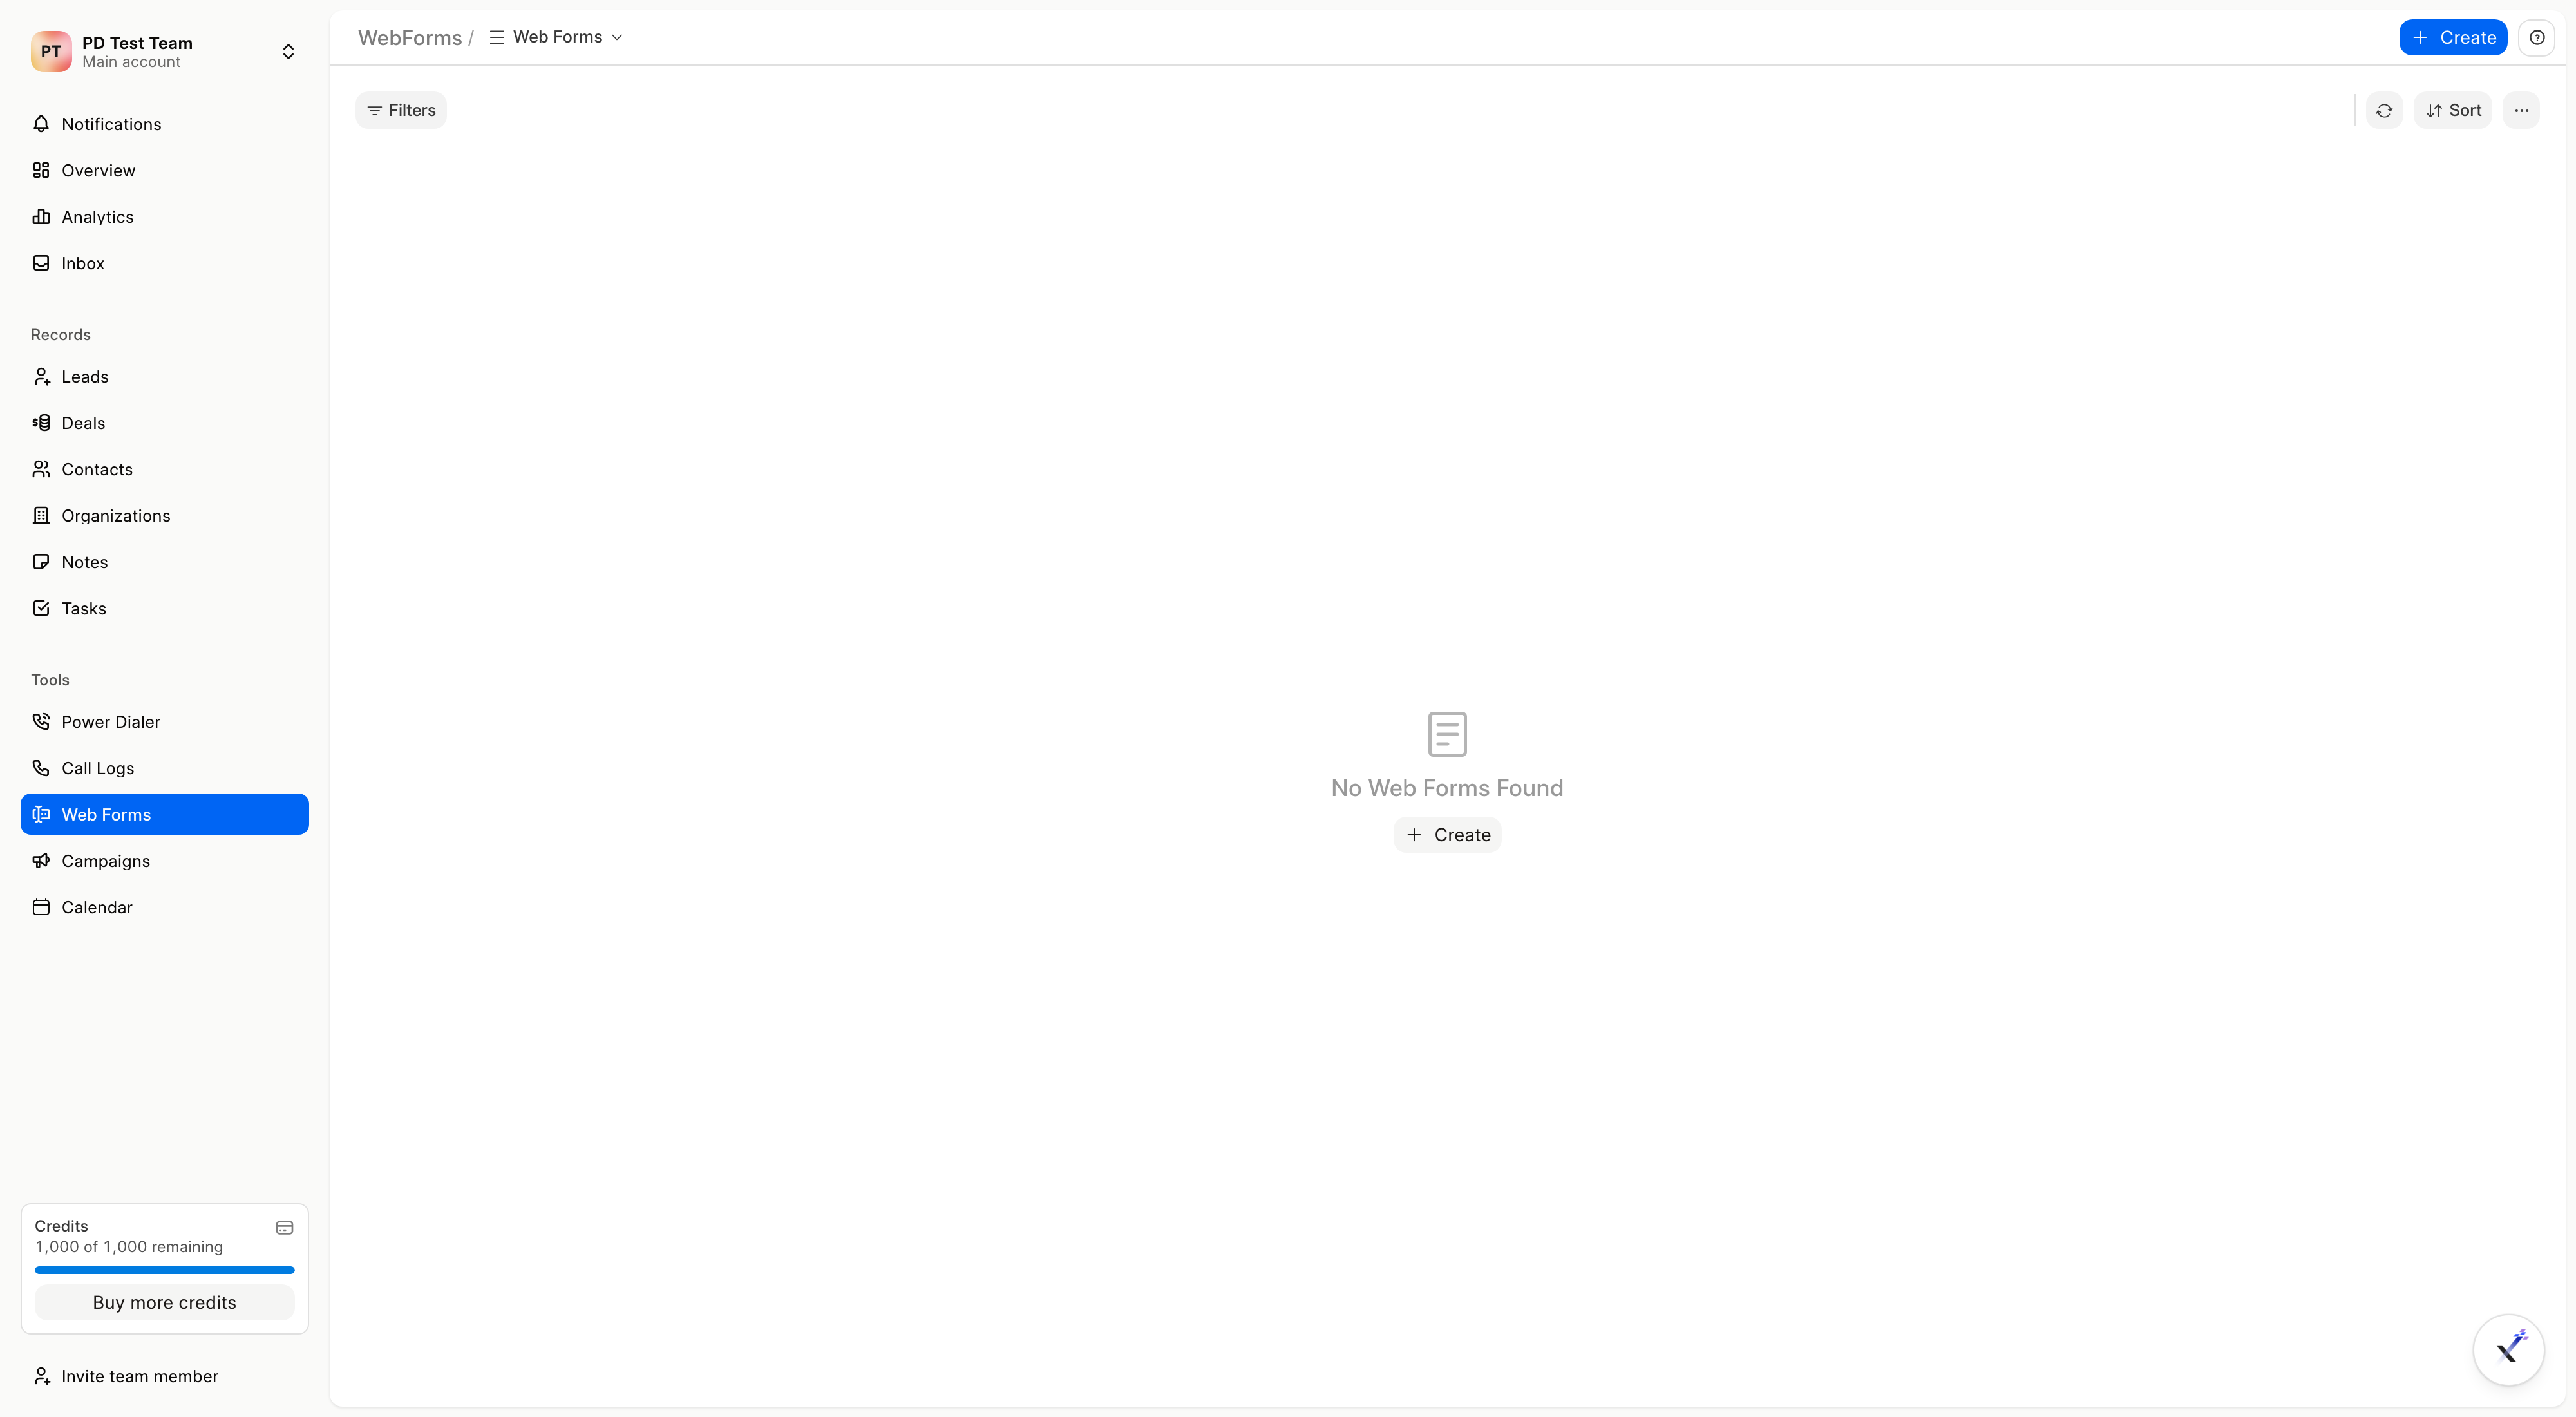
Open Web Forms: From the sidebar, open Web Forms.
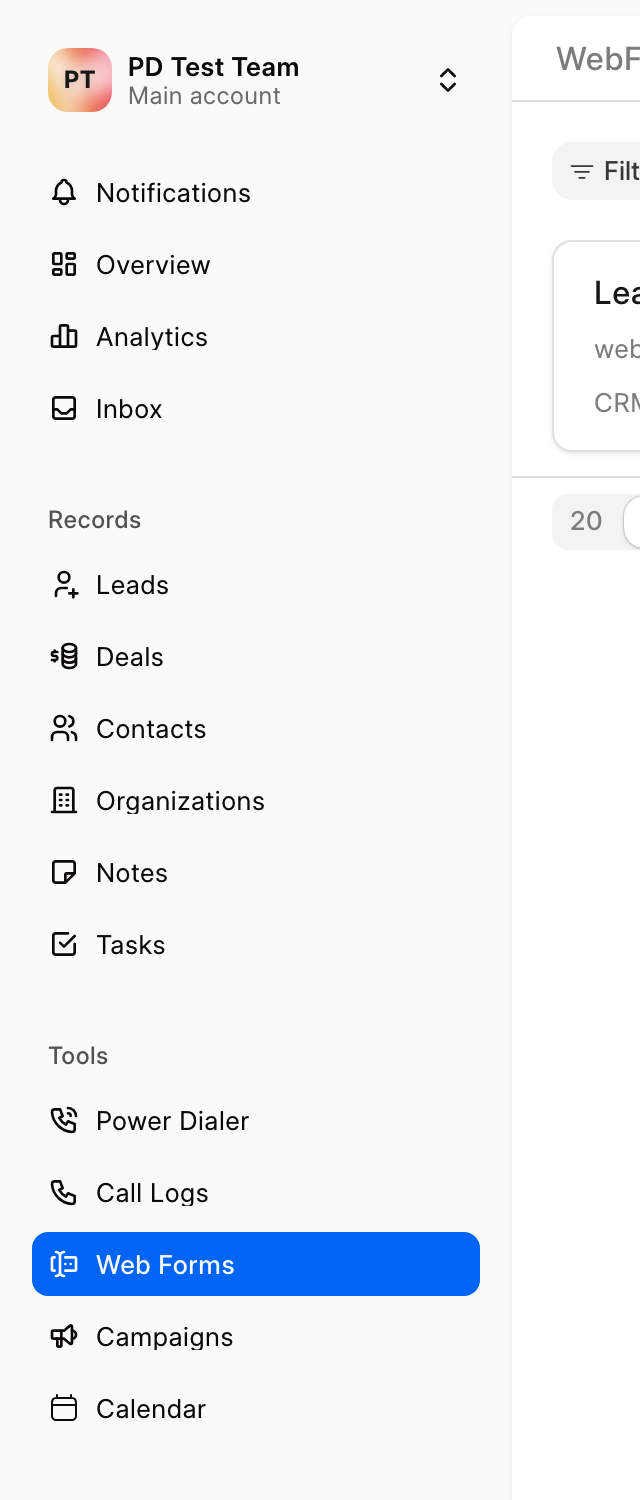
This is your workspace's form library. You will see templates and your existing forms with their status.
-
Create a form: Click Create form. An empty template opens where you can add and arrange fields.
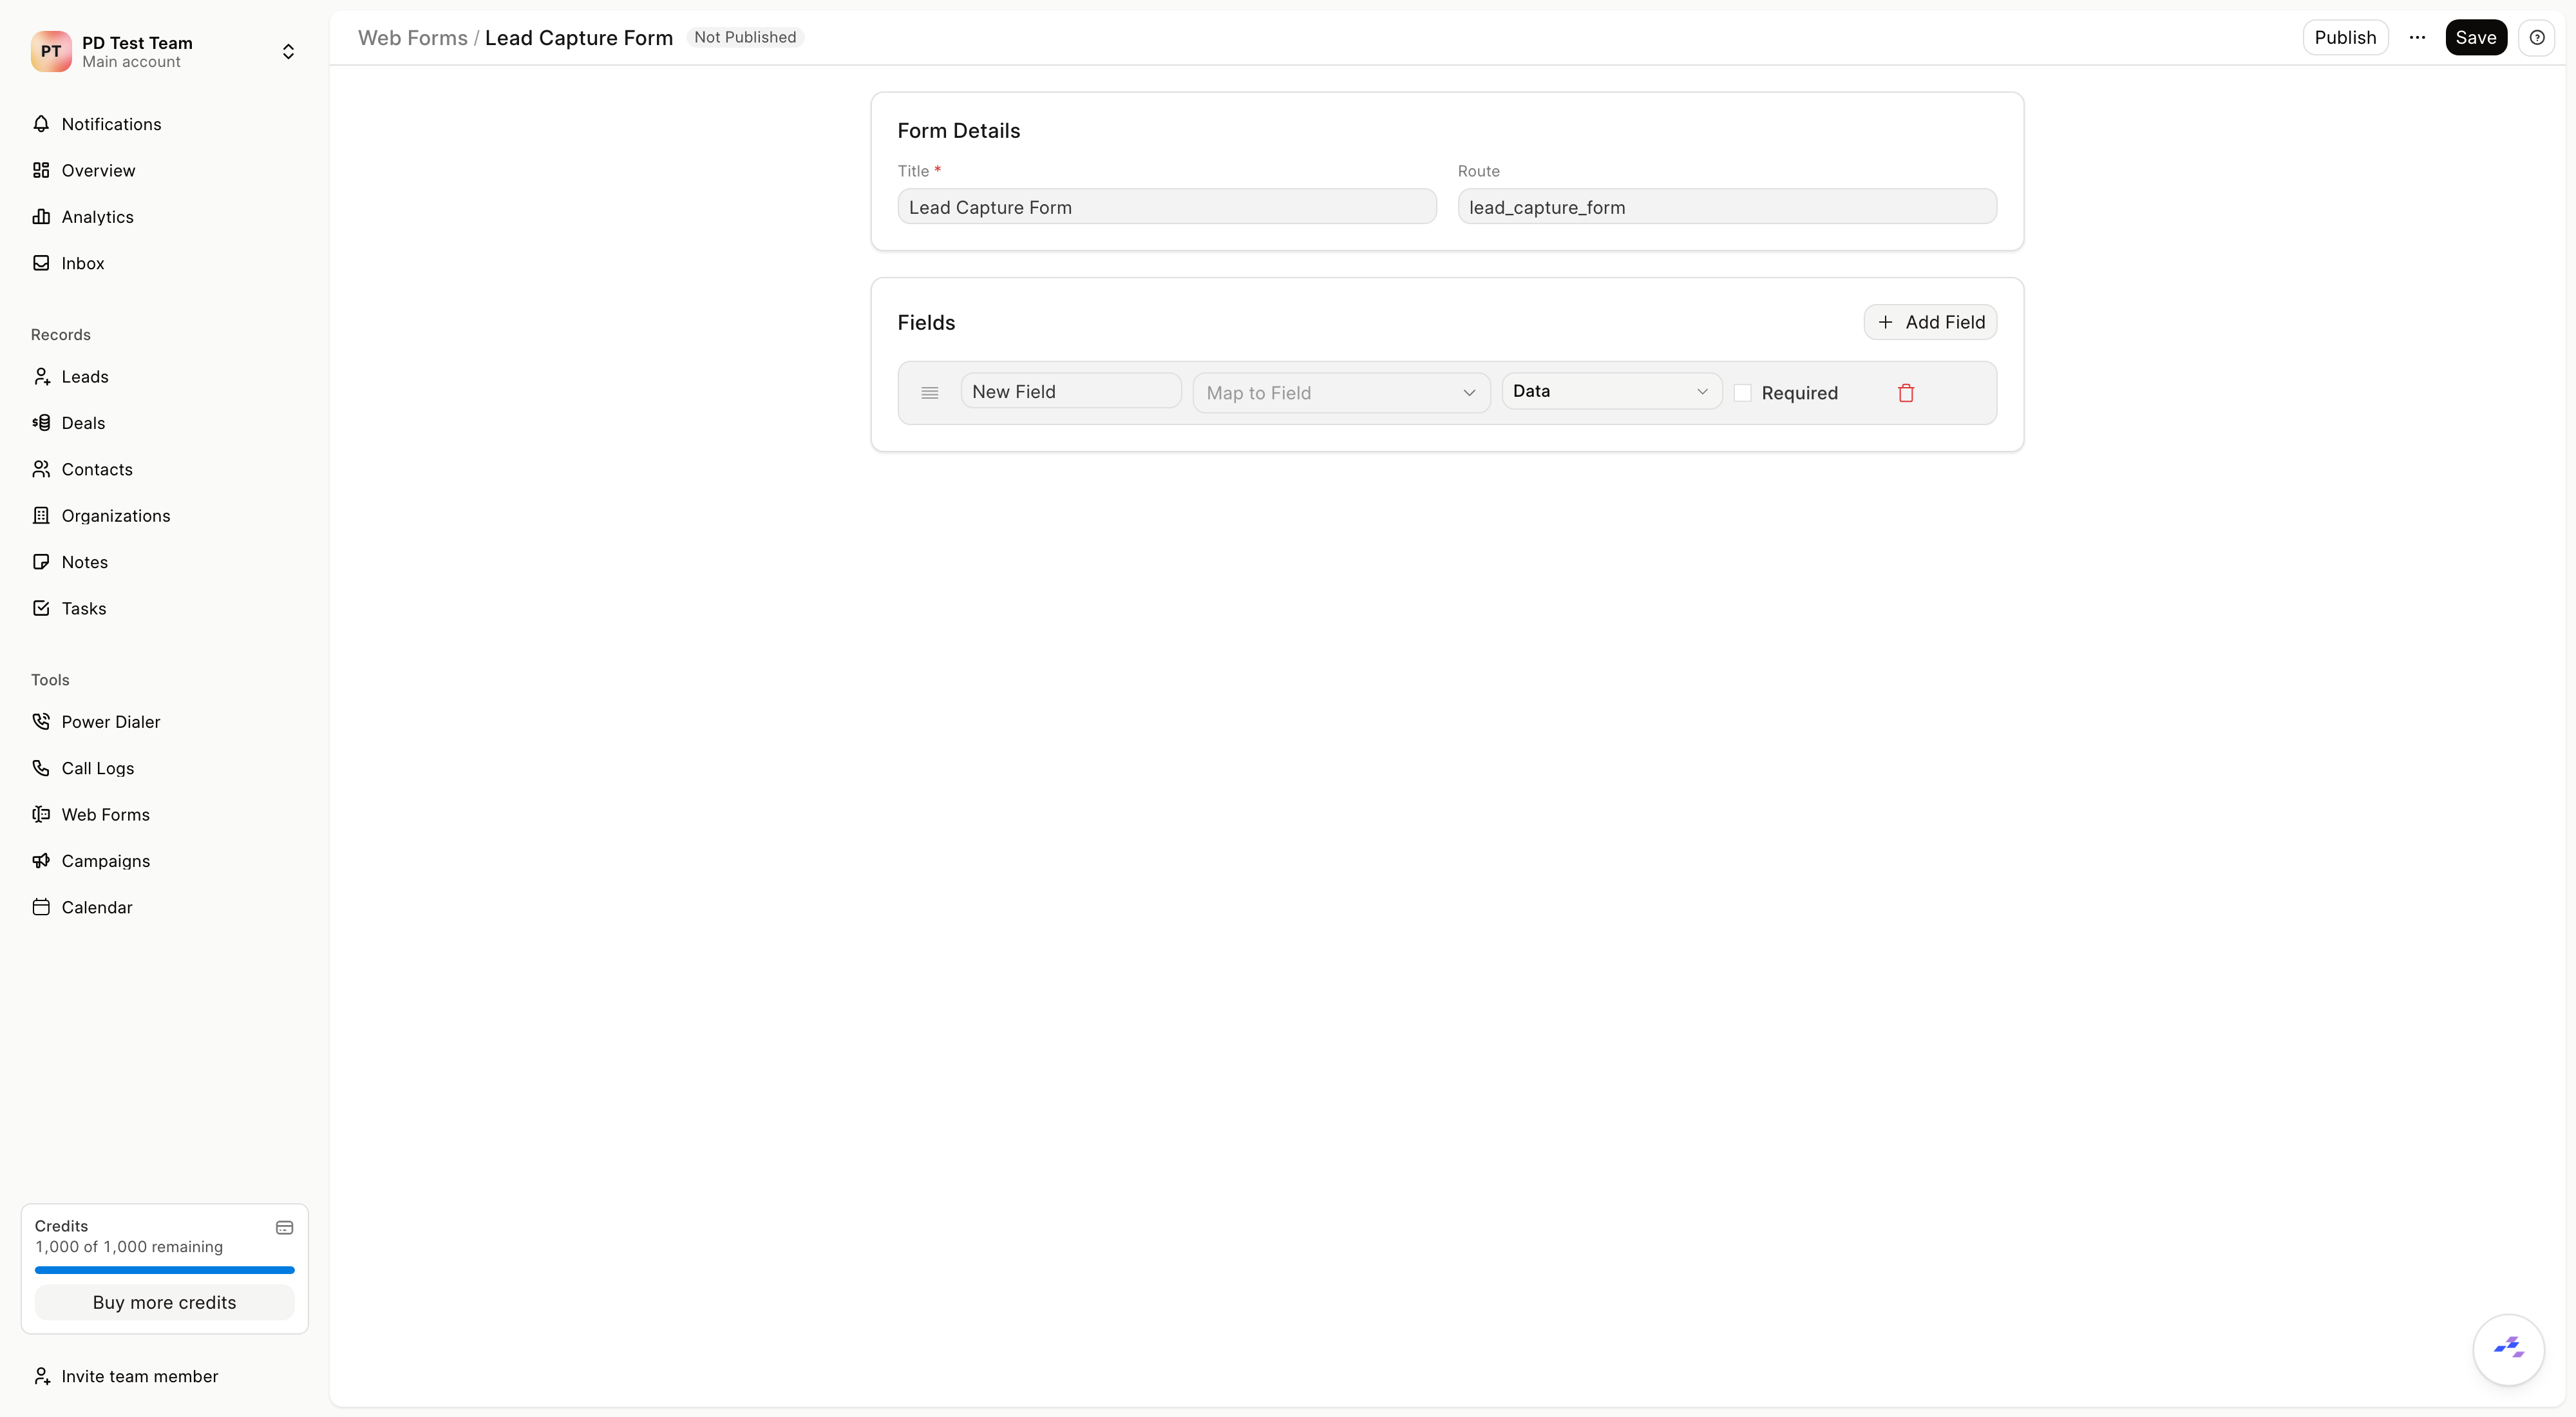
Add fields with Add Field, map them to lead information, adjust labels and required settings, and customize the design such as banner, introduction, and success message. Required lead fields are included by default.
-
Publish: Click Publish. You will be prompted if any required lead fields are missing. After publishing, use Copy Link, Copy Embed Code, or Open Form to share it. Submissions automatically create leads in your workspace.
Email Template
Email templates save time with reusable content, while AI can draft a contextual email from lead or deal data in different tones.
Facebook / Instagram
Before you begin, you must have atleast one Facebook page and a lead generation form. You can follow this guide to obtain an access token for your account.