Settings
Invite Users
Invite teammates by email and assign a role (Admin, Member, or Viewer) from Invite team member.
Invite teammates by email and assign a role to control what they can access. Roles are Admin, Member, and Viewer. The workspace owner is shown as Owner.
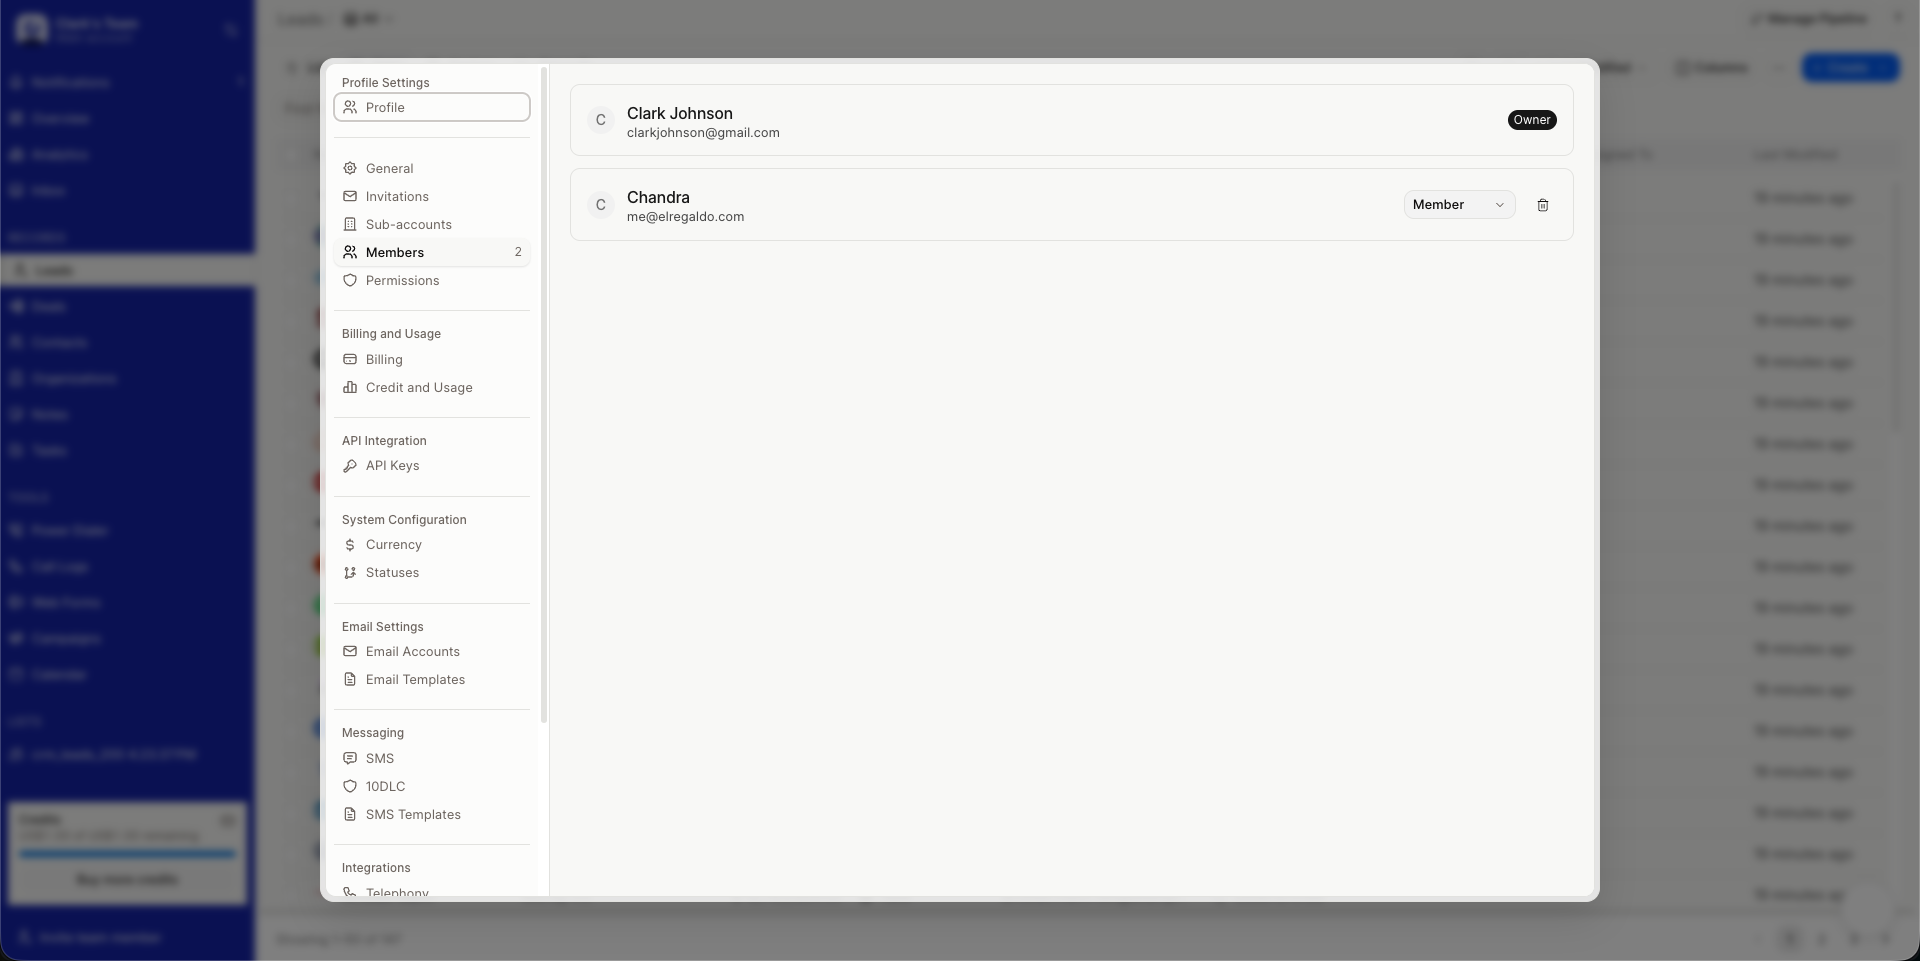
Access Levels
- Admin: Full access. Can invite and manage members, review pending invitations, manage shared lists, and edit workspace settings. Workspace owners are always Admin.
- Member: Standard access. Works with leads, deals, and daily sales tools. Cannot manage members or workspace settings.
- Viewer: Read-only access. Can view records without editing or managing the workspace.
Only owners and admins can send and manage invitations.
How to Invite Members
- Click Invite team member at the bottom of the left sidebar. Admins can also use Invite User at the top of Settings.
- Enter the teammate's email address.
- Select the role: Admin, Member, or Viewer.
- Optionally add a Personal Message to include with the email.
- Click Send Invitation.
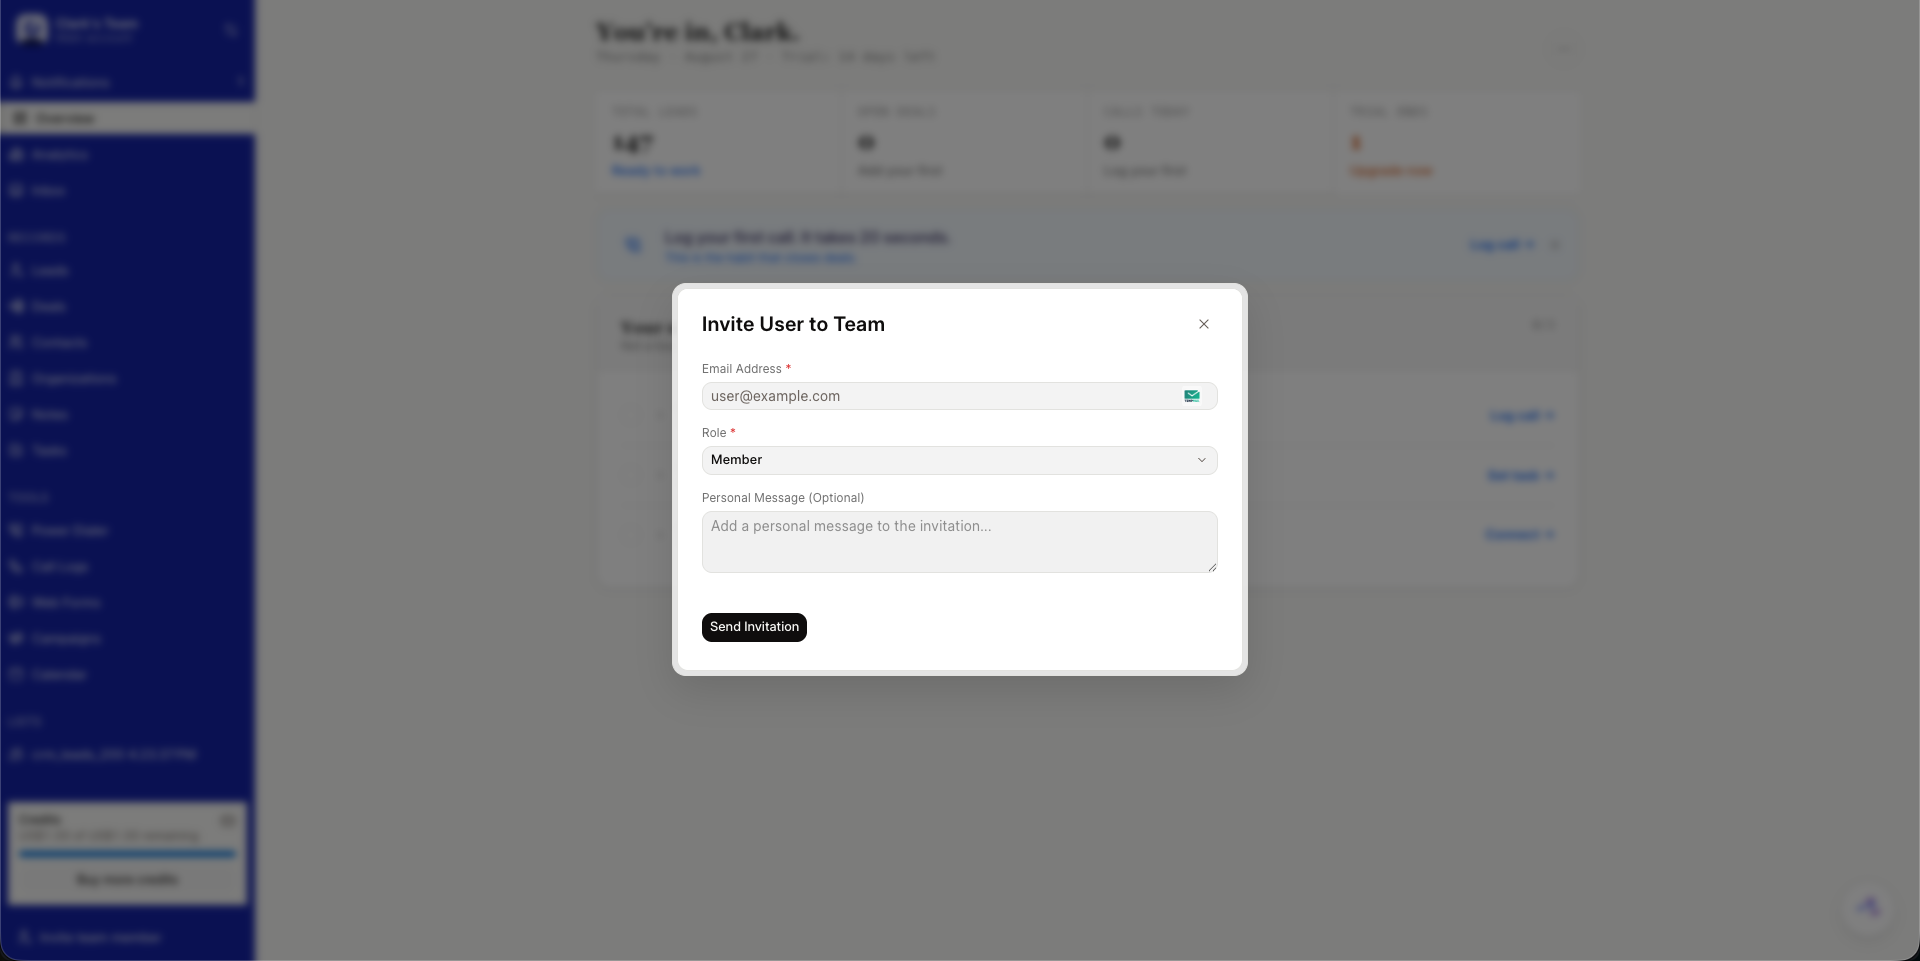
Pending invitations are listed under Settings → Invitations. From there admins can Resend, Copy Link, or Cancel an invitation.
Invitation & Login Process
- The invited teammate receives an email with an Accept invitation button. A personal message, if added, appears inside the email. The invitation expires in 7 days.
- Opening the link shows a confirmation page. They must log in, then click Accept Invitation to join. They can also choose Login with different account if the email does not match.
- After accepting, they land in the workspace and can update their details from Settings → Profile.
If an invitation expires or is cancelled, it cannot be used. Expired invitations can be resent from Settings → Invitations, which extends the expiry.
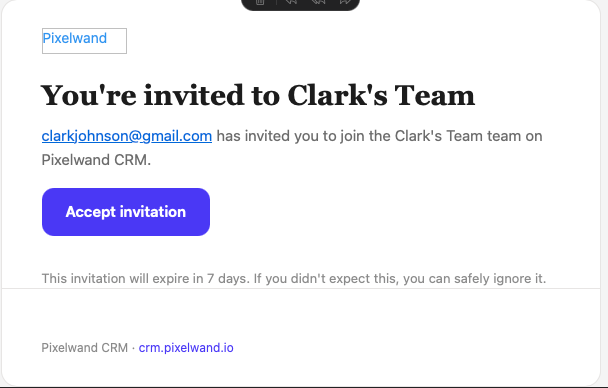
This ensures secure onboarding with role-based access. Only owners and admins can invite, and every invitation is tracked until accepted, declined, cancelled, or expired.